Do You Have Questions?
Our Customer Service team is here to help you during each step of the certification process.
Adding Site Information
This article, for both new and returning customers, addresses adding site information to your account in the SQF Assessment Database.
1. Upon completion of your corporate information, you’ll be navigated to the “Site Information” page.
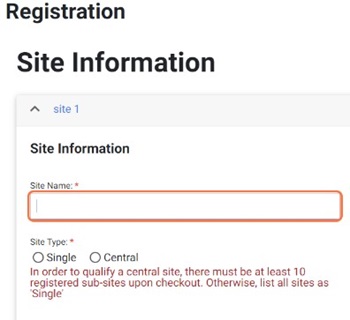
2. Here, you’ll begin by designating a unique “Site Name” for your site.
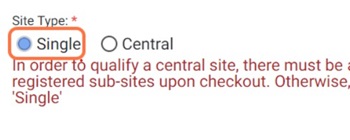
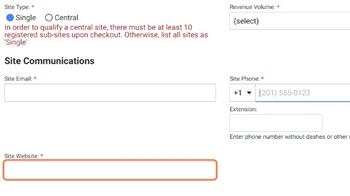
3. Following this, you’ll select your site type as either a “Single” or “Central” site, which can be done by clicking one of the options beneath the “Site Name”.
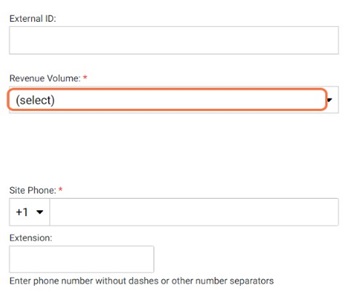
4. Your next step involves choosing your Revenue Volume.
5. Subsequently, you’ll be prompted to input your “Site Email.” This should be distinct from your corporate email and specifically linked to the site.
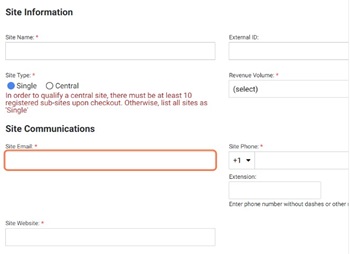
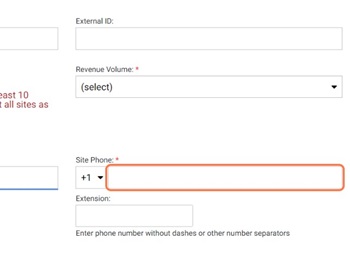
6. The process continues with the requirement to enter your “Site Phone”, a number that should be different from your corporate phone and specifically linked to the site.
7. You’ll then add your “Site Website”.
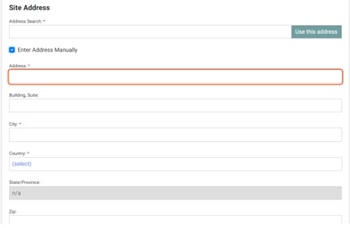
8. Next, you’ll enter your site address information. You have the option to use the suggested address or manually enter the information.

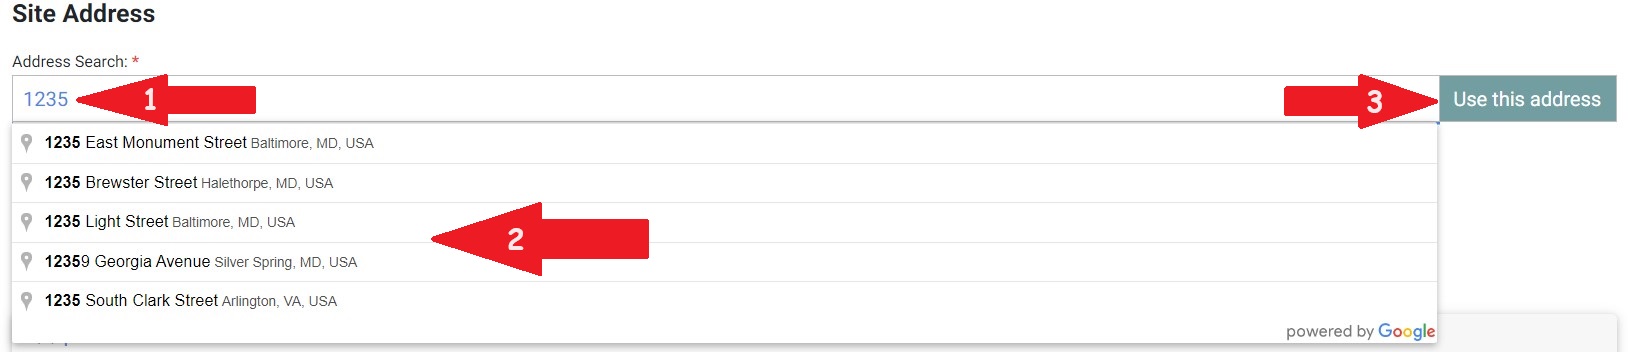
9. If you opt for the suggested address, begin by typing your site address in the “Address Search” field.
10. As you type, suggestions will appear based on the information being typed. Click on the suggestion that matches your address and then click on the green “Use this address” button.
11. If you prefer to manually enter the address information, simply click the checkbox next to it.
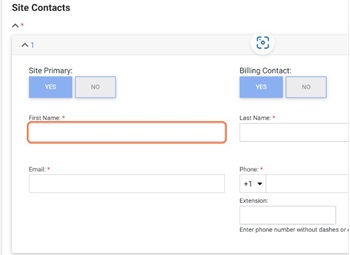
12. Moving forward, you’ll need to add your “Site Contacts”.

13. This begins with entering your site contact’s “First Name”.
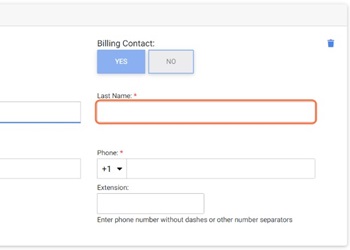
14. Followed by the “Last Name”.
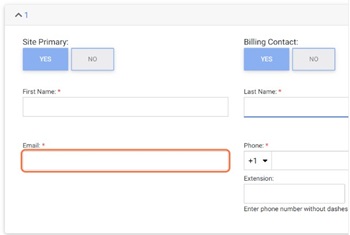
15. You’ll then be required to enter your site contact’s “Email”.
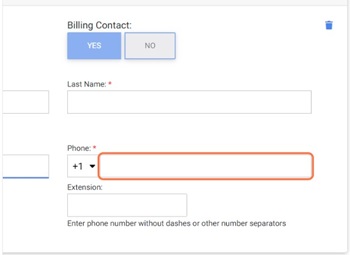
16. Then, you’ll need to enter the site contact’s “Phone” number.
17. Should you wish to add a second site contact for billing purposes, click on the blue “ADD ADDITIONAL CONTACT” link and repeat steps 12-16 above.
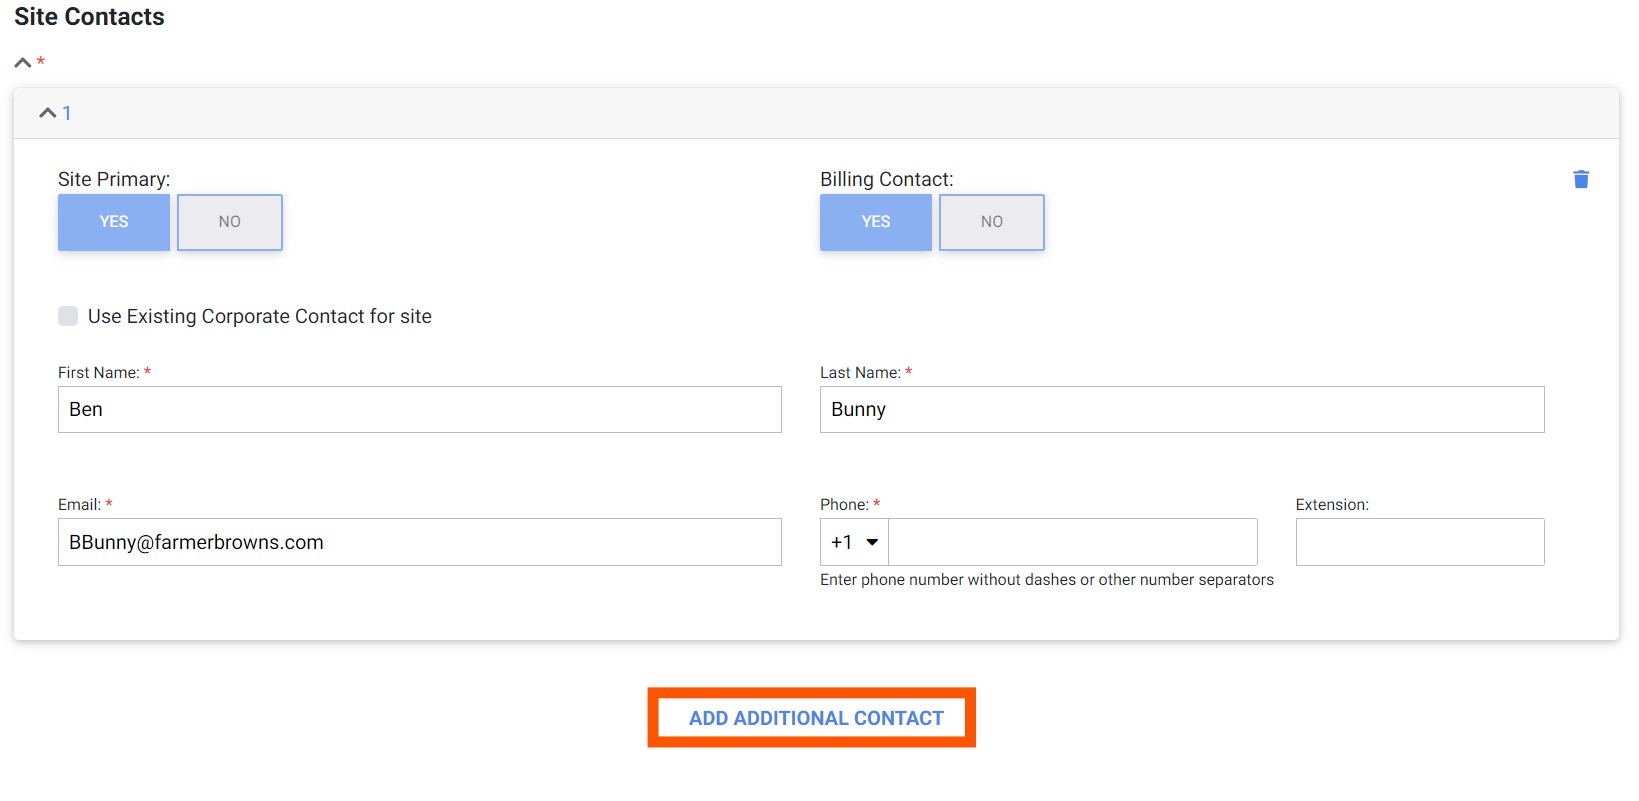 18. If a second contact is added to your site, you’ll need to designate which contact is the “Site Primary” and which is the “Billing Contact”. Note that there can only be one “Site Primary” and one “Billing Contact”.

19. Once all the required information has been entered, click the blue “Create” button.

See the Audit Registration article for next steps.
Related articles
Privacy Policy |
Terms of Use
251 18th Street S., Suite 1200, Arlington, VA 22202 | Phone: (202) 220-0635
© 2025SQFI. All Rights Reserved.
Web Design & Development by Matrix Group International, Inc.