Do You Have Questions?
Our Customer Service team is here to help you during each step of the certification process.
Certified Customer Account Access
Last Updated: Mar 1, 2024
This article goes through the steps a previously certified customer would take in the SQF Assessment Database.
1. Login to https://sqfi.compliancemetrix.com/
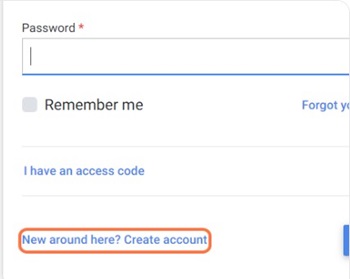
3. You will be redirected to the customer registration page. Where you will begin by entering your first name in top field.
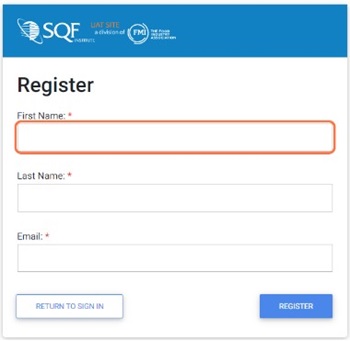
4. Next enter your Last Name in the Second field.

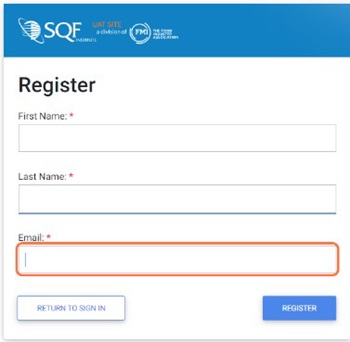
5. Input your email address into the bottom field.
6. After you finish entering the required information click the “REGSTER” button located in the bottom right corner.
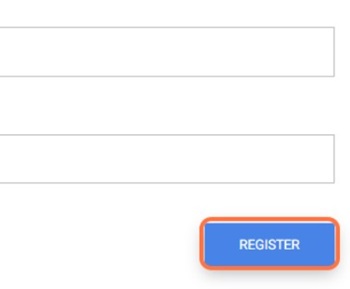
7. If you have entered all the information correctly you will see a message pop-up at the bottom of the screen stating that an email has been sent to the email address you provided.

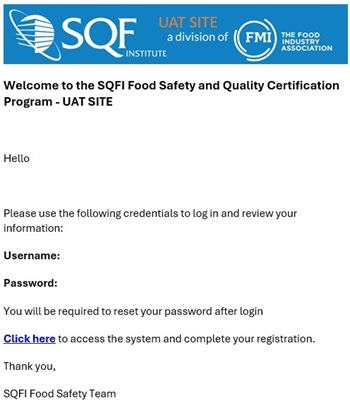
8. You will receive an email to the provided email address with your username and temporary password. The email can take up to 20 minutes to come through.
9. From here you will be directed to enter your temporary password, enter a new password, and confirm the new password by entering it again.
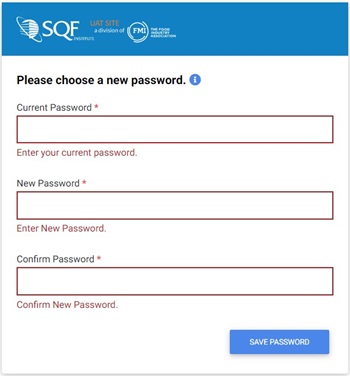
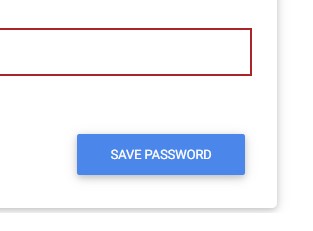
10. After you have entered all your password information Click the “SAVE PASSWORD” in the bottom right corner.
11. After you click the “SAVE PASSWORD” button, you will be redirected to the “COMPLIANCEMETRIX, INC. END USER SUBSCRIPTION TERMS”. Read through the terms, check the boxes next to “I have read the terms” and “I understand I can revisit the content by downloading the document once logged in”.
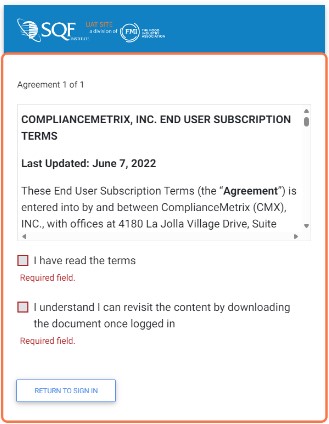
12. Click on the “I AGREE” button in the bottom right corner”. After you click the “I AGREE" button you will be directed to the “User Registration” page where you will need to verify your user information.
In the SQF Assessment Database, after you have finished the User Registration it is timed to enter your Corporate Information. Follow these steps:
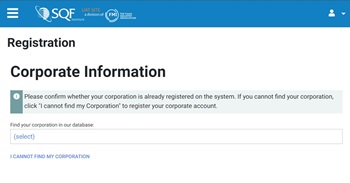
13. After you have clicked the “CONFIRM" button on the User Registration you will be directed to the “Corporate Information” page.
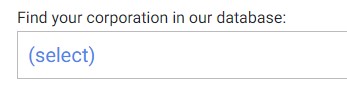
14. Click the blue “select” text to begin the process of searching for your corporate information.
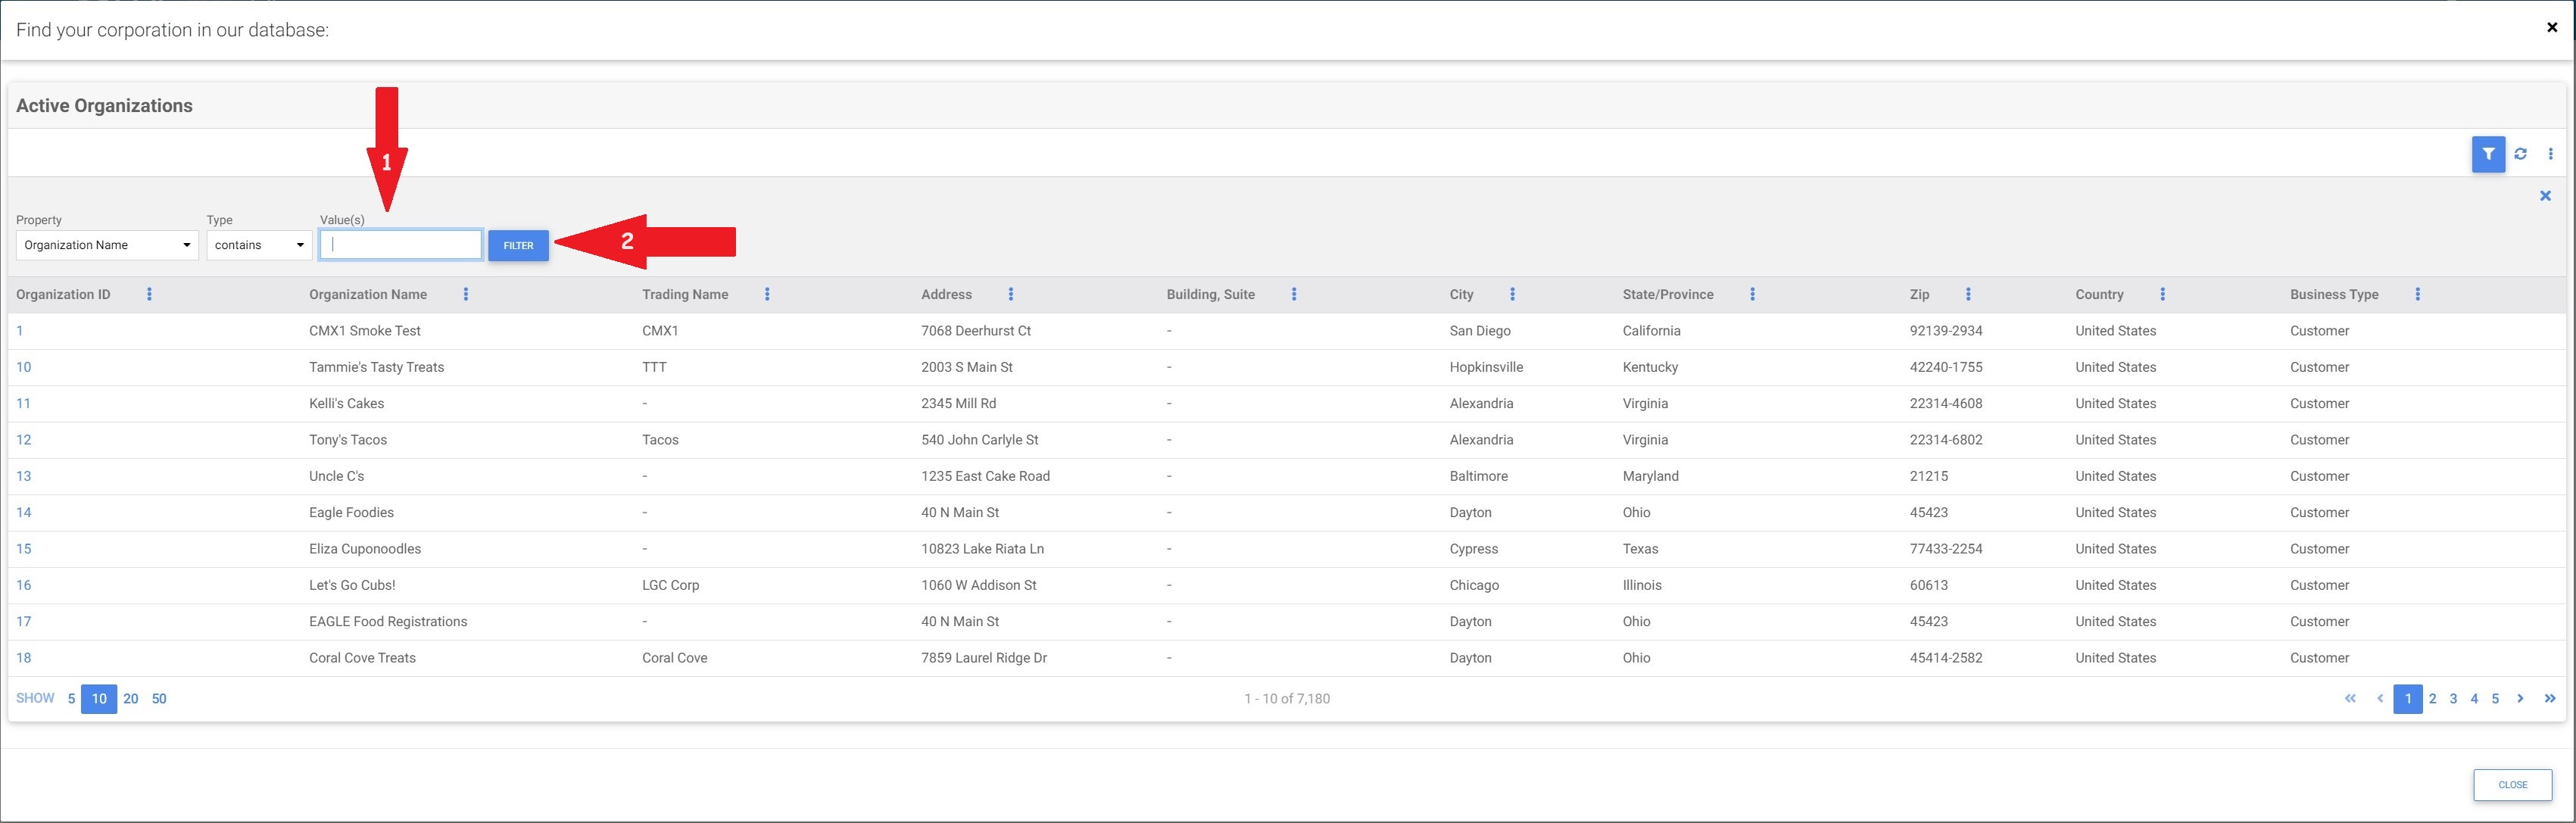
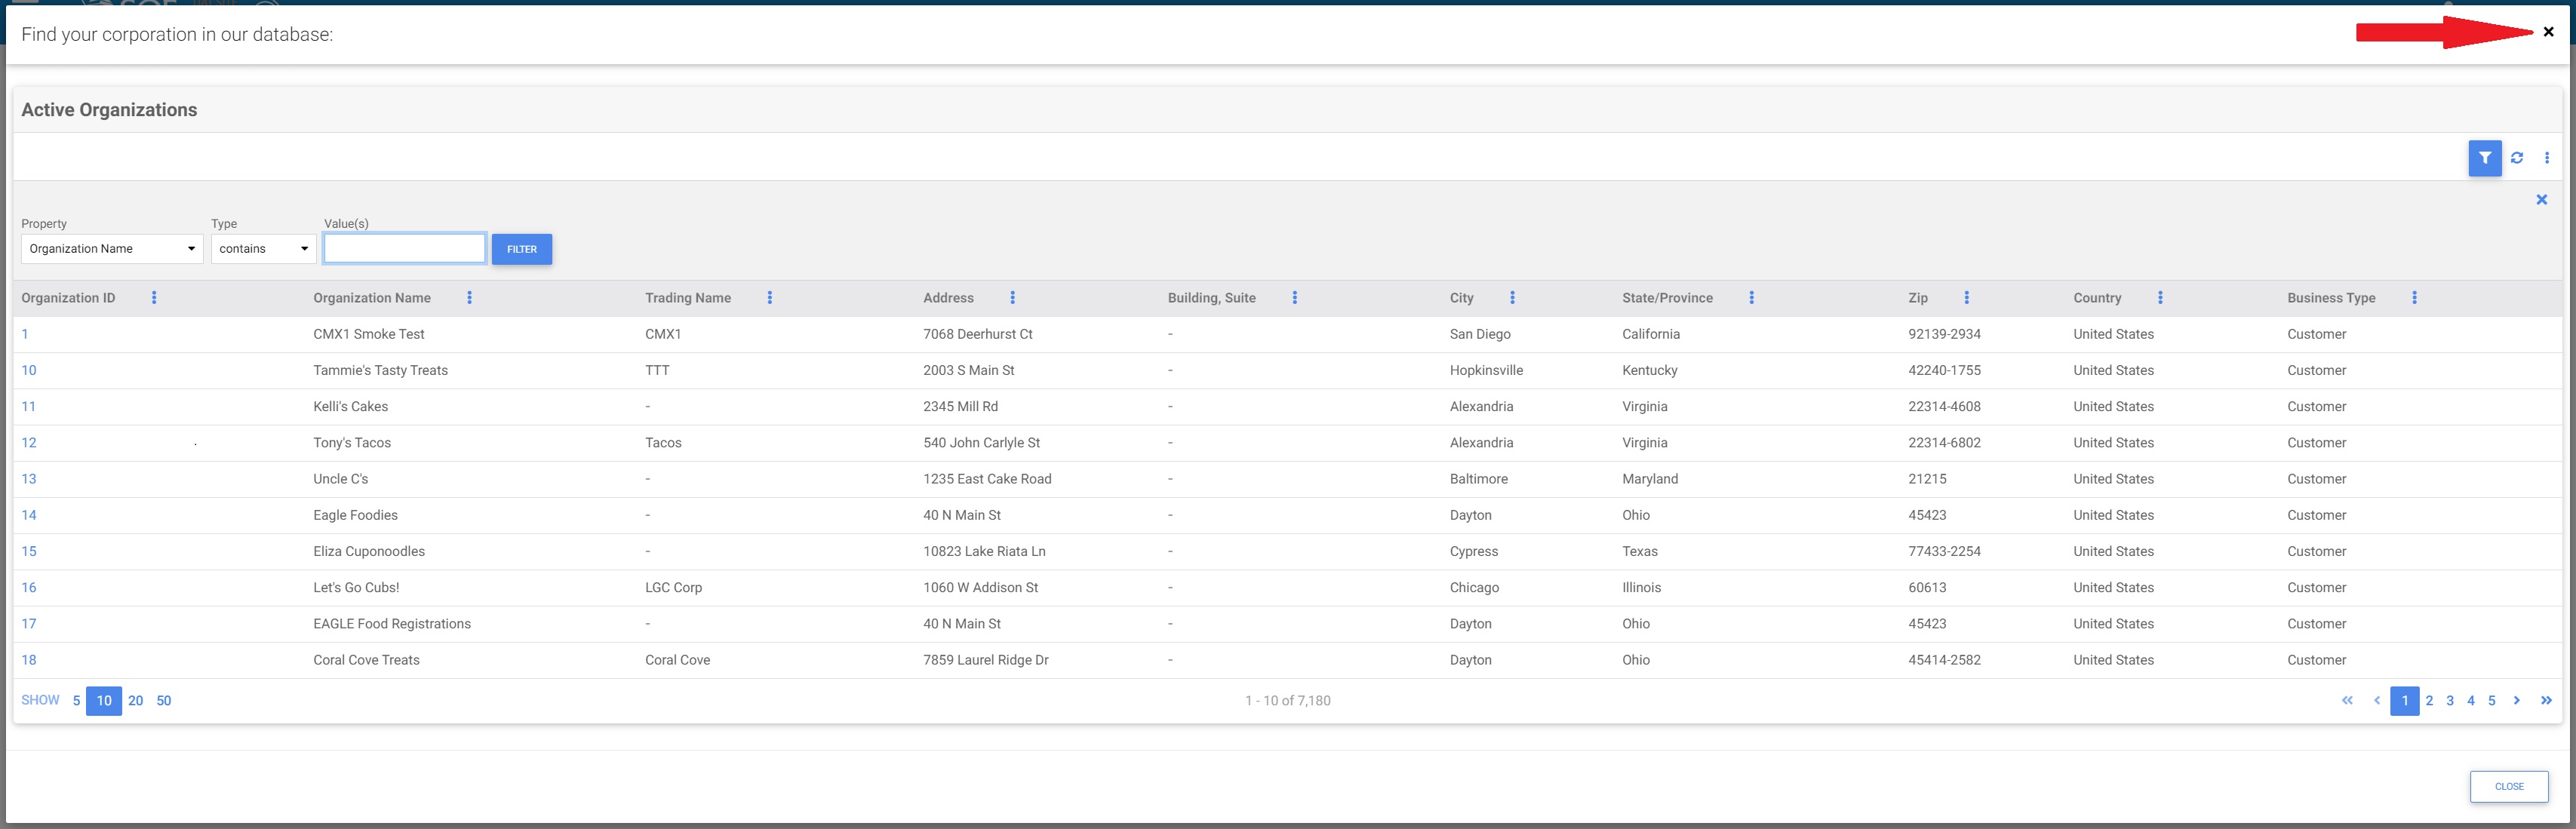
15. Type your company name in the values field located at the top of the filtering and click the filter button next to the field. This will filter down your list of options.
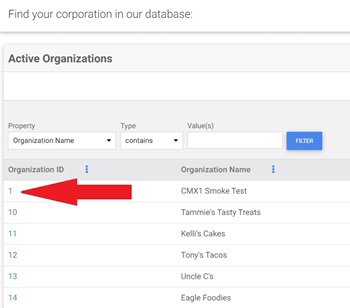
16. Click the Organization ID next to your corporate information.
17. If you cannot find your corporate information after filtering you will need to add it to our system. Close out of the filtering section by clicking the X in the upper right corner of the filtering screen.
18. If you have trouble locating your organization account, please contact SQFI at info@sqfi.com, 202-220-0635, or Toll-Free 1-877-277-2635.
You have now successfully set up your site for the audit. See our Entering Corporate Contacts article for next steps.
Related articles
Privacy Policy |
Terms of Use
2345 Crystal Dr, Suite 800, Arlington, VA 22202 | Phone: (202) 220-0635
© 2025SQFI. All Rights Reserved.
Web Design & Development by Matrix Group International, Inc.